Mounties Badminton Community Engagement
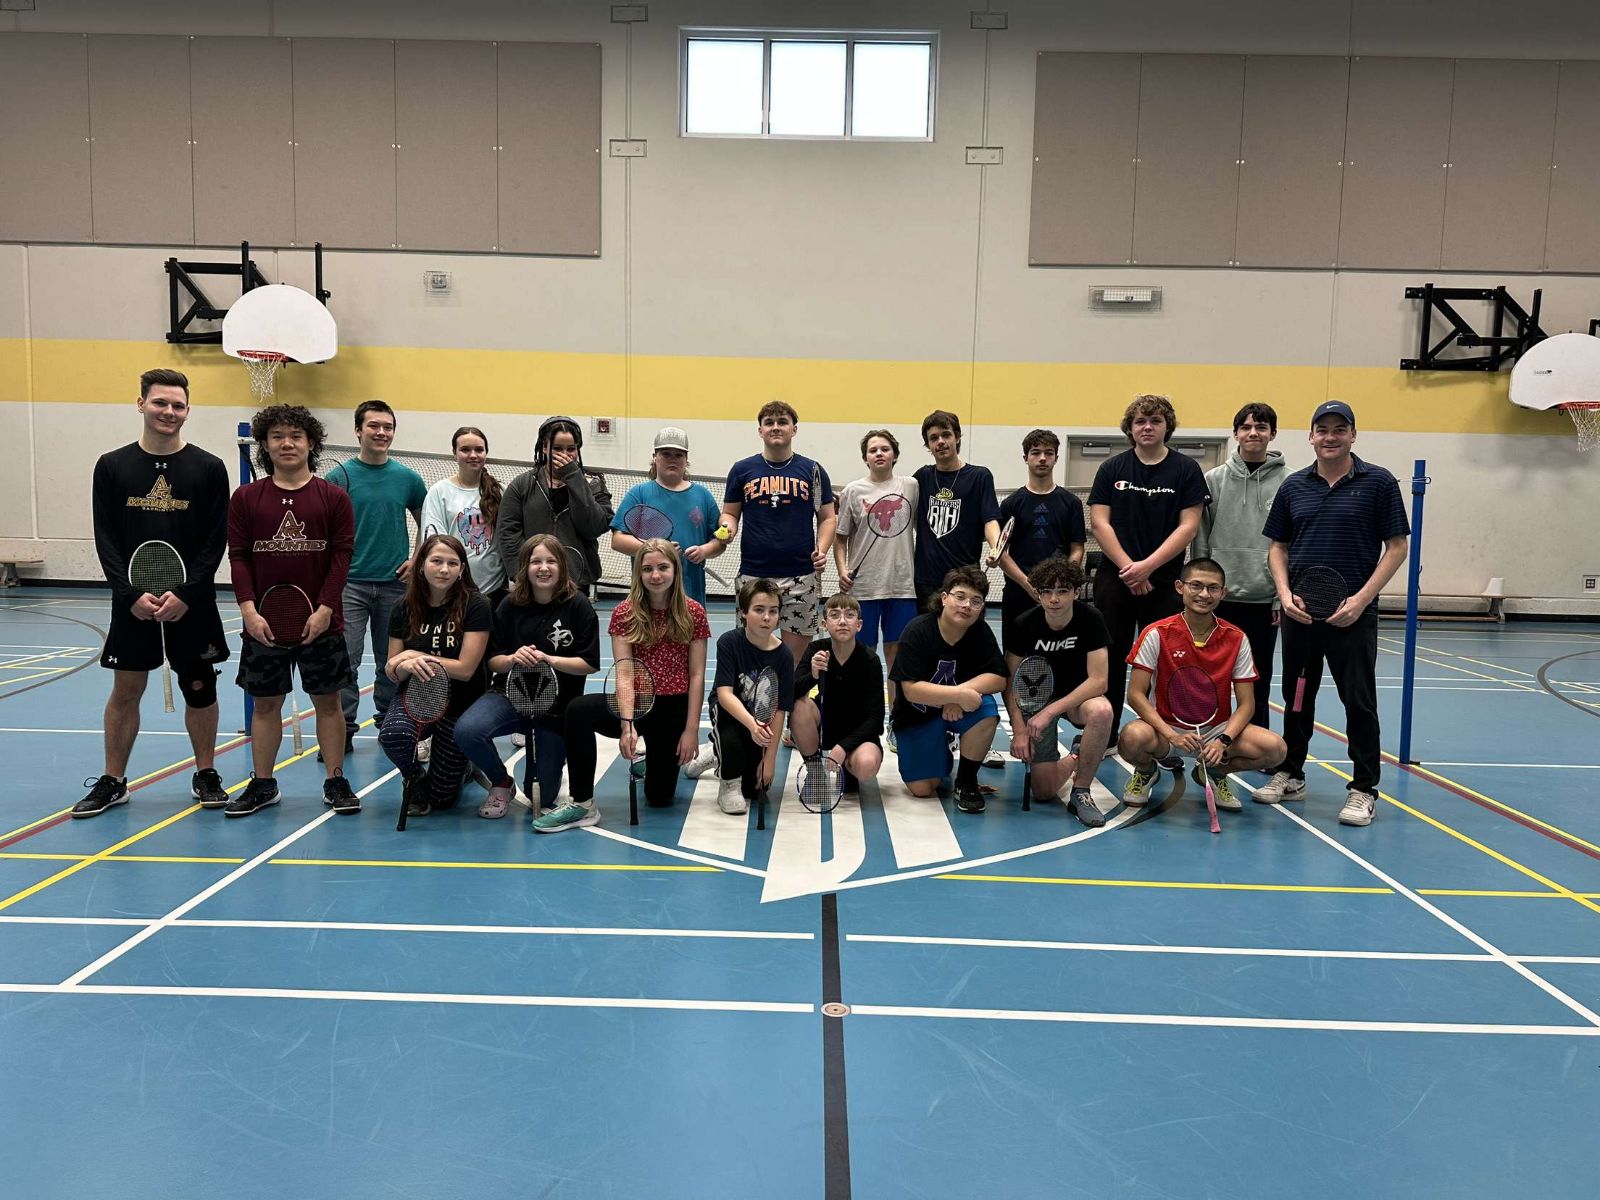
On March 26th, 2024, three members of the Mount Allison varsity badminton team travelled to River Hebert, NS, and instructed a badminton lesson for their school's competitive team at the district school.
Tony Nguyen, Mike Ta, and Jacob Lamothe represented Mount Allison athletics with PRIDE in the small town just thirty minutes from Amherst, NS, Sackville's neighbouring community. The students ranged from middle school age to high school seniors, all engaged in the skill, experience, and kindness that the three Mountie badminton players brought with them.
Tony Nguyen has special ties to River Hebert and its badminton program. After deciding to leave Ho Chi Minh City, Vietnam, Nguyen was set up with a host family on his own as a grade ten student in none other than River Hebert. Here, Nguyen met many friends, competed on the school's varsity badminton team, and discovered Mount Allison University, where he is in his third year of studies in the Commerce program. He is hoping to become an excellent marketer in the future.
Now in Sackville, Nguyen considers River Hebert a second home; he learned, in part, how to become an adult earlier than most 16-year-olds do. Therefore, this excursion to River Hebert was all the more meaningful to Nguyen: "Travelling to River Hebert reignited my love for the sport along with my high school memories when I first came to Canada."
A beautiful reacquisition of lifelong memories, it is clear how much River Hebert means to Nguyen, who had the privilege to share his time here with two of his closest friends on the badminton team.
Courtesy of Ben Broadbent